Hey there! Are you looking for a way to enhance your muscle recovery after a tough workout? Well, we’ve got just the thing for you! In our step-by-step guide on “How to Utilize Heat Therapy for Effective Muscle Recovery,” we’ll walk you through the process of using heat therapy as a powerful tool to help soothe your sore muscles and promote faster healing. We understand how important it is to take care of your body, so we’re here to help you make the most out of your recovery routine. Let’s dive in and discover the wonders of heat therapy together!
Top Picks for Muscle Recovery Tools


Want to Recover from Muscle Soreness Quickly? Try These 4 Science-Based Tips!
Step 1: Understand the Benefits of Heat Therapy
To understand the benefits of heat therapy for muscle recovery, let’s look at some examples. When you apply heat to your muscles, it increases blood flow, which helps deliver oxygen and nutrients to the area, promoting healing and reducing inflammation. This increased blood flow also aids in the relaxation of muscles, relieving tension and tightness. Additionally, heat therapy can help reduce pain and stiffness by stimulating sensory receptors and decreasing the transmission of pain signals. Try applying a warm compress or taking a warm bath to experience these benefits.


Step 2: Choose the Right Heat Therapy Method
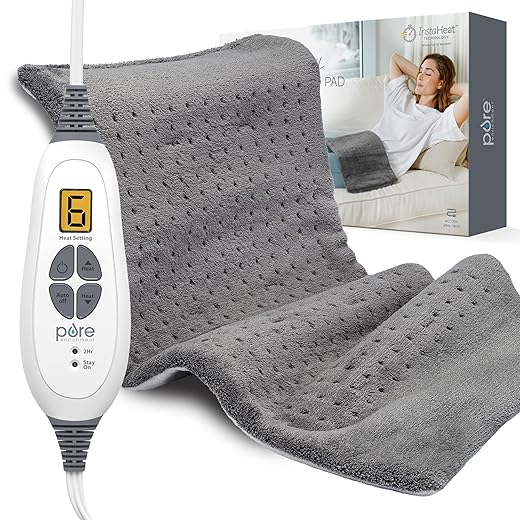
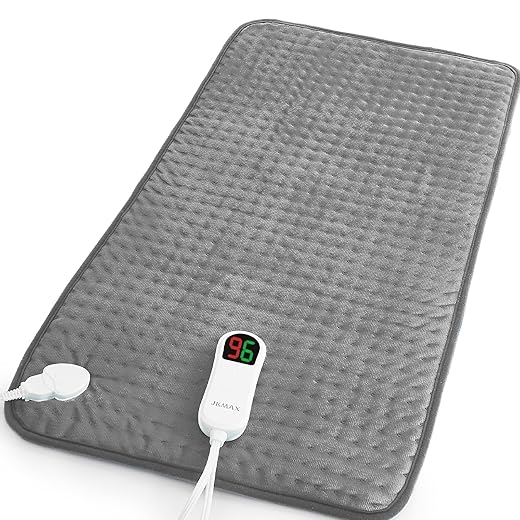
To choose the most suitable heat therapy method for your needs, you should consider different options like hot packs, heating pads, hot baths, or sauna. Assess your specific condition and determine what kind of heat therapy will provide the most relief. If you have localized pain, hot packs or heating pads may be more effective, while if you are looking for overall relaxation, a hot bath or sauna might be more suitable.
Step 3: Prepare the Heat Therapy Equipment
To prepare the chosen heat therapy equipment, start by heating up the packs or pads according to the manufacturer’s instructions. For example, if you’re using a microwaveable heat pack, place it in the microwave and heat it on high for 1-2 minutes. Next, adjust the temperature on your heating pad to your preferred level of warmth, usually by using the control dial or buttons. If you’re setting up a sauna, make sure to follow the assembly instructions included with the unit and set the temperature to the desired level before entering. Remember to always exercise caution and follow the safety guidelines provided.
Step 4: Apply Heat Therapy to the Affected Muscles
Apply heat therapy to the affected muscles by using a heating pad or hot water bottle. Place the heat source on the muscles for 15-20 minutes, ensuring it is not too hot to avoid burns. During the therapy, gently massage or stretch the muscles to enhance blood flow and relaxation.
Step 5: Monitor the Heat Therapy Session
Monitoring the heat therapy session is crucial to ensure the temperature remains safe and comfortable. Keep a close eye on the temperature settings throughout the session, maintaining it within a safe range. To avoid overheating or burns, periodically check your skin for any signs of redness or discomfort. If you feel any excessive heat, immediately reduce the temperature or discontinue the therapy. Always prioritize your safety and well-being during the session.
Step 6: After the Heat Therapy Session
- Cool Down the Muscles: After your heat therapy session, it’s important to cool down your muscles to prevent any discomfort or excessive sweating. You can do this by taking a cool shower or using a cold compress on the areas that were treated. This will help reduce any inflammation and bring your body temperature back to normal.
- Hydrate: During heat therapy, your body can lose fluids through sweat, so it’s essential to rehydrate afterwards. Drink plenty of water or electrolyte-rich beverages to replenish the lost fluids and keep your body hydrated. This will help in maintaining good muscle function and prevent any potential dehydration-related issues.
- Gentle Exercise or Stretching: To maximize the benefits of your heat therapy session, it’s recommended to engage in some gentle exercise or stretching. This can include light aerobic activities like walking or cycling, or simple stretches for the muscles that were targeted during the session. This helps promote blood circulation, flexibility, and muscle recovery.
Remember to listen to your body and not push yourself too hard. If you experience any discomfort or pain during the cooling down period or exercise, it’s important to stop and consult with a healthcare professional.
Step 7: Repeat and Maintain Regular Heat Therapy Sessions
Regular heat therapy sessions are crucial for effective muscle recovery. To maximize the benefits, it is recommended to have heat therapy sessions at least 3-4 times a week. Each session should last for about 20-30 minutes. For example, you can schedule your sessions on Monday, Wednesday, Friday, and Sunday, or any other days that work best for you. Remember to set a timer or use a stopwatch to ensure you stay within the recommended duration.
Step 8: Consider Safety Precautions
When utilizing heat therapy, it is important to take certain safety precautions to ensure your well-being. Here are some key points to keep in mind:
- Avoid heat therapy for certain medical conditions: If you have conditions such as diabetes, dermatitis, deep vein thrombosis, or an open wound, it is best to avoid heat therapy as it can exacerbate these conditions.
- Consult a healthcare professional if necessary: If you are unsure whether heat therapy is suitable for you, or if you have any underlying health concerns, it is always a good idea to consult with a healthcare professional before proceeding.
By following these safety precautions, you can enjoy the benefits of heat therapy while minimizing any potential risks. Stay safe and take care of yourself!
Wrap it up with heat!
In conclusion, utilizing heat therapy can be a game-changer when it comes to effective muscle recovery. By following the tips and techniques mentioned in this guide, you can experience a range of benefits such as increased blood flow, reduced muscle stiffness, accelerated healing, and improved flexibility. Whether you choose hot showers, heating pads, or warm compresses, incorporating heat therapy into your post-workout routine can significantly enhance your recovery process. So why wait? Give it a try and feel the difference in your muscles. Your body will thank you!
What You’ll Need


Maximize muscle recovery
Getting the most out of your muscle recovery tools: Tips and Tricks
- Start by identifying the specific muscle groups that you want to target for recovery
- Use a foam roller: Begin by positioning the foam roller on the targeted muscle group. Apply moderate pressure and slowly roll back and forth over the muscle for about 1-2 minutes. Focus on any tight or sore spots, and take deep breaths to help relax the muscle
- Try a massage gun: Choose the appropriate attachment for the muscle group you want to target. Apply the massage gun to the muscle, starting with low intensity and gradually increasing as needed. Move the massage gun in slow, circular motions or along the muscle fibers. Spend 1-2 minutes on each muscle group
- Consider using a massage ball: Place the massage ball on the targeted muscle group and apply pressure against a wall or the floor. Roll the ball around the muscle, focusing on any tight or sore areas. Apply moderate pressure and take deep breaths to help release tension
- Finish off with stretching: After using the muscle recovery tools, perform gentle stretching exercises for the targeted muscle groups. Hold each stretch for about 20-30 seconds, and remember to breathe deeply and relax into the stretch
- Remember, it’s important to listen to your body and adjust the intensity of the muscle recovery tools according to your comfort level. If you experience any pain or discomfort, stop and consult with a healthcare professional
All your questions about muscle recovery tools, answered!
What are the advantages of using a vibrating foam roller for muscle recovery?
Using a vibrating foam roller for muscle recovery can have several advantages. First, the vibrations from the roller can help to increase blood flow to the muscles, which can aid in the recovery process. This increased blood flow can help to remove waste products, such as lactic acid, that accumulate in the muscles after intense exercise.
Second, the vibrations can also help to reduce muscle tension and tightness. By applying pressure and vibrations to specific areas, you can target knots or trigger points in the muscles, helping to release tension and increase flexibility.
Another advantage is that the vibrations can provide a deep tissue massage effect, similar to that of a professional massage therapist. This can help to break up scar tissue and adhesions in the muscles, promoting better muscle function and reducing the risk of injuries.
Additionally, using a vibrating foam roller can help to improve overall muscle performance and range of motion. By regularly incorporating it into your muscle recovery routine, you can enhance your muscle flexibility and mobility, allowing you to move more freely and perform better in your workouts or sports activities.
Lastly, vibrating foam rollers are often portable and easy to use, making them a convenient tool for muscle recovery. You can use them at home, at the gym, or even while traveling to help alleviate muscle soreness and promote faster recovery.
Remember, while vibrating foam rollers can provide these advantages, it’s important to use them properly and listen to your body. If you have any concerns or pre-existing medical conditions, it’s always best to consult with a healthcare professional before incorporating any new recovery tools into your routine.


